Below is a profile view of a stretcher I recently built. The strecher is made from 1"x 4" pine and a piece of 3/4" quater round.
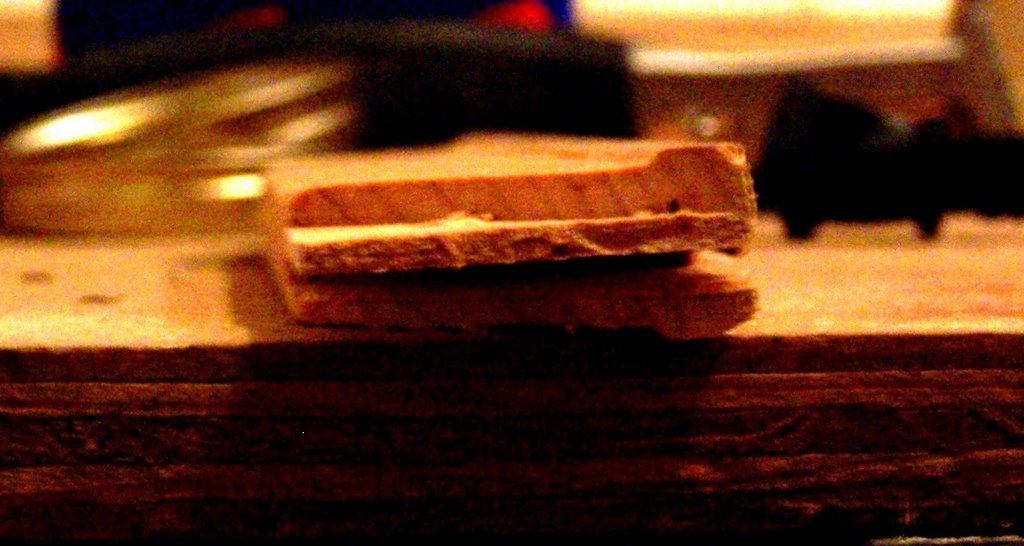
 This is the profile of a student/hobby grade premade stretcher. Note how shallow a profile the outer edge has and how wide of an edge (apx. 1/4") will be in contact with the canvas once stretched.
 Here is the final product.
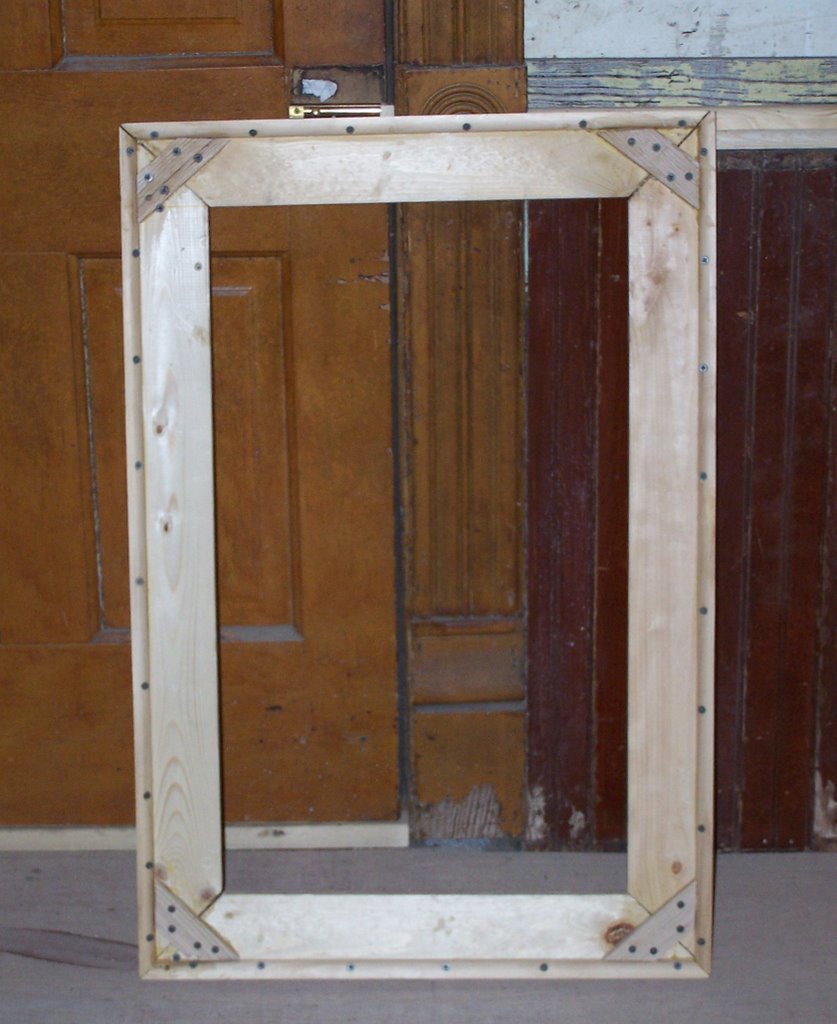
I build all of my stretchers out of pine 1"x 3" or 1"x 4" and pine quater round. Do not buy treated lumber for a canvas stretcher. The chemicals will harm the painting. Instead, us untreated lumber meant for interior wood work, cabinets, and furniture. This lumber is can be found at any of the big-box home improvement stores (Lowe's, Home Depot, et cetera).
Before all of my tools were stollen last year, I could crank out two or three 3' x 4' stretchers in an hour or so. The ideal tools for this are a miter saw, a brad or finish nailing gun with compressor, and a biscuit cutter (this is used to join the corners). However, since I currently have none of these tools, I used a hand saw, a drill, screws, and a right angle square (for checking to see if all corners are square and marking 45 degree cuts). Doing it all by hand takes a lot longer.
The short how-to for building a strecher (sorry, I didn't think to take step by step pictures at the time):
1) Glue and nail (or screw) quarter-round to stretcher boards. If using screws, predrill holes, and sink them below the top edge of the quarter-round. The heads should not come in contact with the canvas.
2) Decide on what size stretcher you want; cut boards to length.
3) Miter cut each corner at a forty-five degree angle. Lay boards out to check the fit, make adjustments as needed.
4) Use biscuit cutter to join each of the corners together, use lots of wood glue. If you don't have a biscuit cutter, glue corners and join with finishing nail or screws (pre-drill screw holes).
5) Using thin panaling or small bits of wood, brace corners from the top side. The braces should be thinner/lower than the top edge of the quarter-round. Glue and nail/screw in place.
6) Let glue dry. Once dry, you are ready to stretch the canvas.