Sorry that I don't have any paintings to post today. That isn't to say that I haven't been busy with art. I have a couple big pieces that I am trying to finish that I may post soon. Also, one of my in-laws is going to self-publish a children's book, and he's asked me to do some illustrations as a favor. I tried painting some quick sketches of fruit this week, but they turned out very badly and were wiped down. Hopefully, I'll get into my groove tonight and paint something worth showing.
On a different note, I've been looking at a lot of artists online. I'm amazed by how many really good artists there are out there. And, I am also astounded by how many seem to be making a living with their art. That isn't something I saw much of while growing-up. Most artists that I encountered either did art as a hobby or they were a teacher of one sort or another. No one was just an artist. If I'd know that you could really make a successful career out of art at sixteen, my life may have turned out completely different.
But, as long as you have a pulse, it's never too late to try something new, right?
Wednesday, March 12, 2008

Tuesday, March 04, 2008

March, Morning Snow
 10" x 14" oil on cradled panel, $250.
 03/12/08 - I recently entered this painting in an art contest. I should know if I won anything in late April. Wish me luck!
Thursday, December 27, 2007
Free At Last

So, here it finally is. I've been working on this painting since November 2006. It's 3'x3' oil on canvas. It is one of the monster commissioned pieces that I've been working on lately, so it is not for sale since it already has a home.
To date, this is the largest landscape painting that I've completed. Unlike most of the smaller paintings that I've been posting and selling on this blog, this painting was completed with the use of reference photos, a practice from which I've been trying to minimalize. Working from life is best, but sometimes you just can't manage it. This cypress grove is just off the interstate outside of Conway, and painting from the shoulder of the road just wasn't an option.
Wednesday, September 26, 2007
Update
Sorry that I haven't posted any new paintings lately. I've been working on two large, commissioned pieces. Once they are finished, I hope to have some new work to show.
Tuesday, August 28, 2007

Thursday, August 23, 2007

Friday, August 17, 2007

Thursday, August 02, 2007

Monday, July 23, 2007
Big Ben
 Gouache on illustration board, approximately 10"x10," $275.00.
This painting was a project at SCAD. Using our gouache sets (black, white, primary red, primary blue, and primary yellow only) we were supposed to paint a picture in the style of Chuck Close from a photograph.
I think the measurements are correct, but please check with me if I haven't updated this post and you are interested in the painting.


Mermaid II (finished at last)
 Vanessa, since you asked, here it is. Sorry, the colors are a bit whited out by the flash. Compositionally, there are several things I'd change if I were to paint this one over again, but I learned a lot from it none the less.

Monday, April 23, 2007
Work in Progress, Red Wings

Here is a painting that I've been working on for a long time. I'm still not entirely happy with it. The halo is painted with a mixture of linseed oil and "gold" powdered pigment. It's too "flat" in an un-flattering way, so I'm thinking about leafing over it. Also, I think I'm going to repaint the dress in red and seriously modify the background to correct the paintings questionable composition. On the upside, I still really like the red wings.
Monday, February 19, 2007
A $6000 Lesson (Part IV)
For those of you who would like to do some more reading on canvas stretching, check out the link Tex left in one of the comment sections. Check it out, it's good stuff.
Wednesday, February 14, 2007

Tuesday, February 13, 2007
A $6000 Lesson (Part III)
Here is the canvas once we've finished streching it. Ideally, the canvas ought to be tight as a drum, but, in this case, mine isn't. This canvas didn't get stored in the best place and became wrinkled. The wrinkles did not stretch all of the way out. In this case, this is good since it gives me an excuse to show you a trick my wife taught me.

 Prime the back of the canvas with gesso. Try your best to push the gesso all the way to the edges of the canvas even thought there isn't much room between the stretcher and the canvas back.
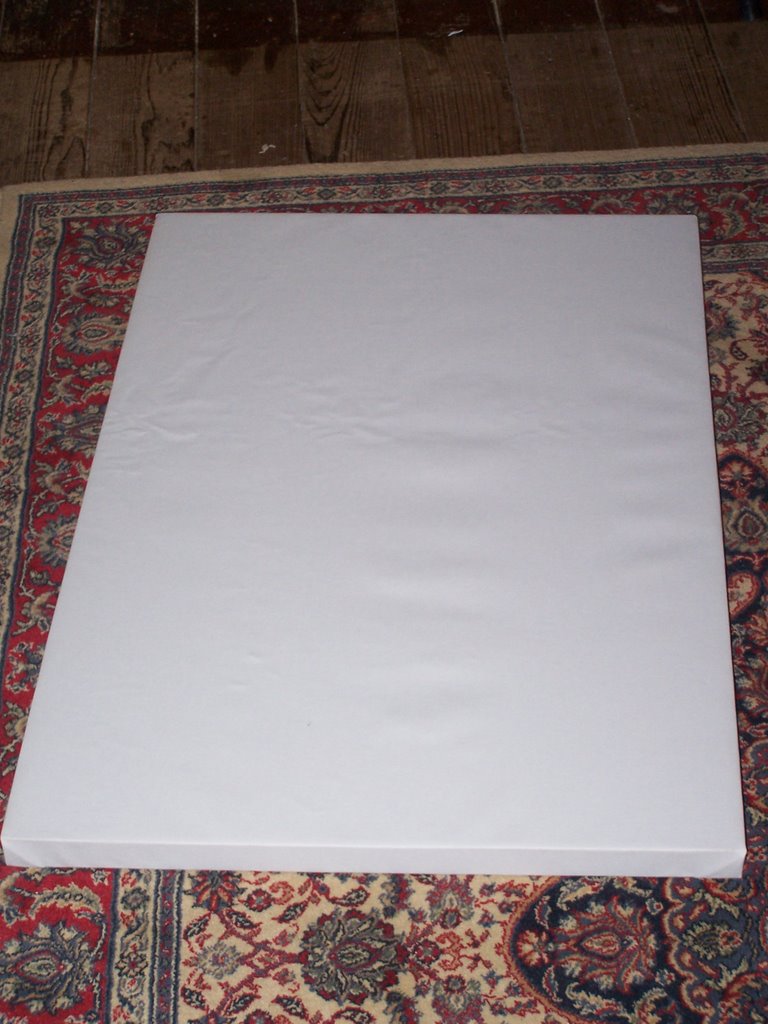
 Prime the back of the canvas with gesso. Try your best to push the gesso all the way to the edges of the canvas even thought there isn't much room between the stretcher and the canvas back.
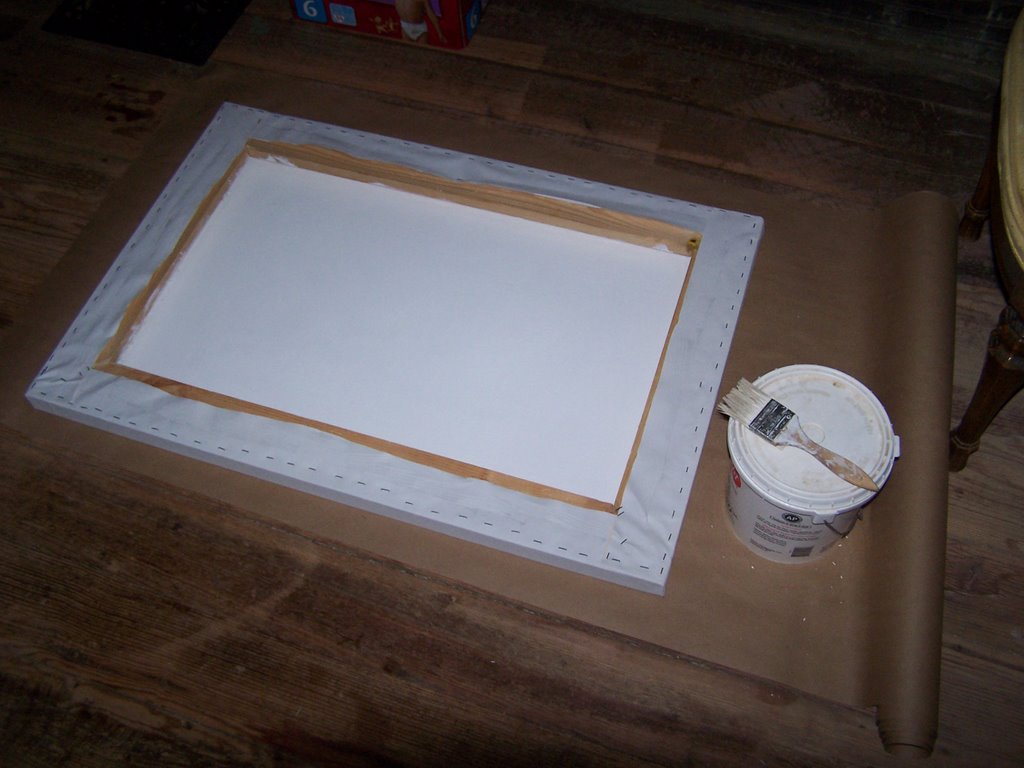 Give it a second coat of primer if needed. In this case, only one coat was necissary. This canvas was preprimed, but you can add an extra coat to the front if you feel the need to do so.
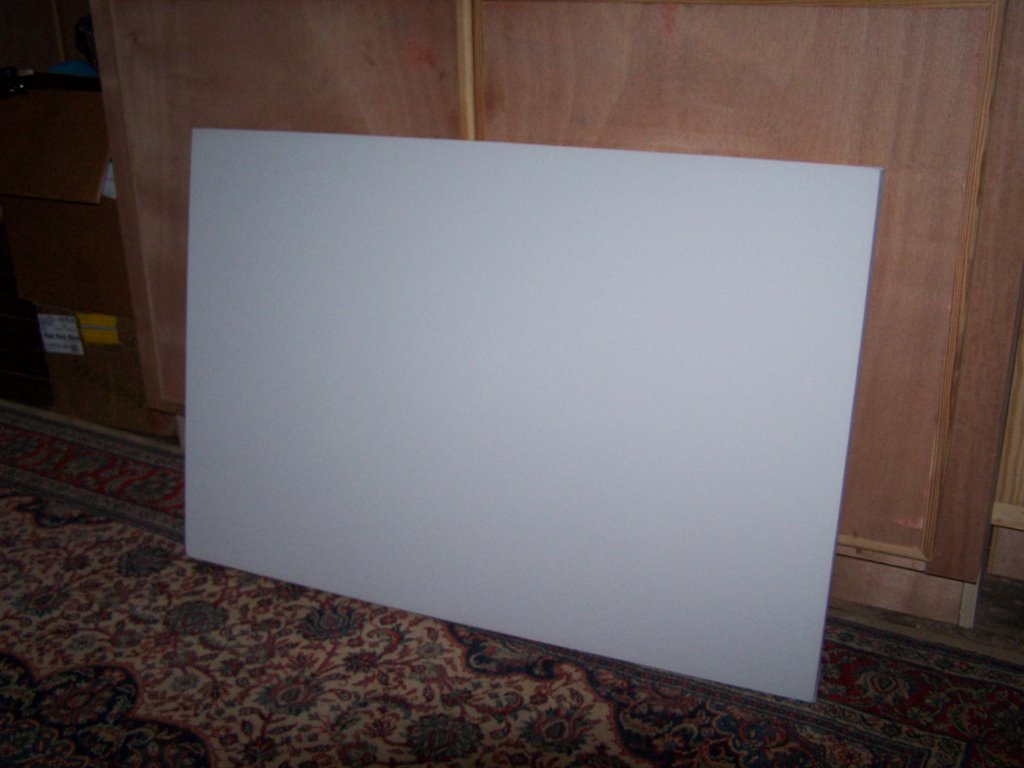
Now, the canvas is ready to paint.
A $6000 Lesson (Part II)
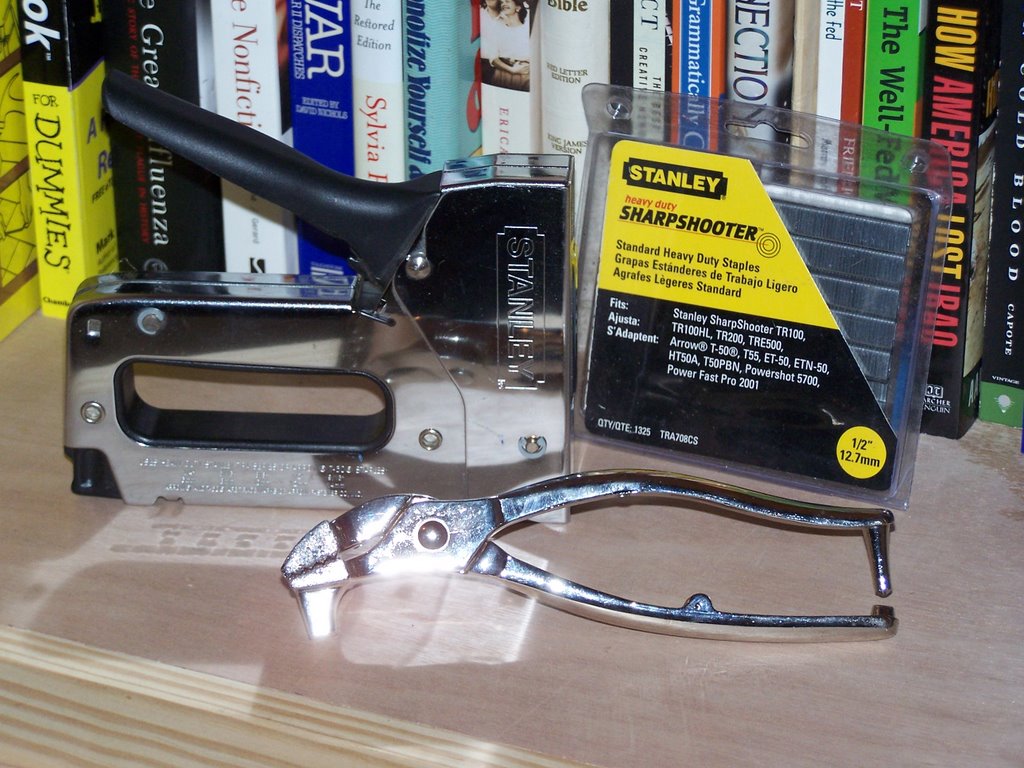
Since our stretcher is finished, it is time to stretch the canvas. In addition to the canvas, you'll need a stapler (unless you're into copper tacks), scissors, and canvas stretching plyers. I have both a manual and electric stapler. Both work. The electric one is easier on my hands, but the staples don't always get driven in all of the way. This leaves me driving them the rest of the way in with a hammer. The manual one is hard on the hands if you're doing a lot stretching. It does, however, do a better job of driving in the staples.
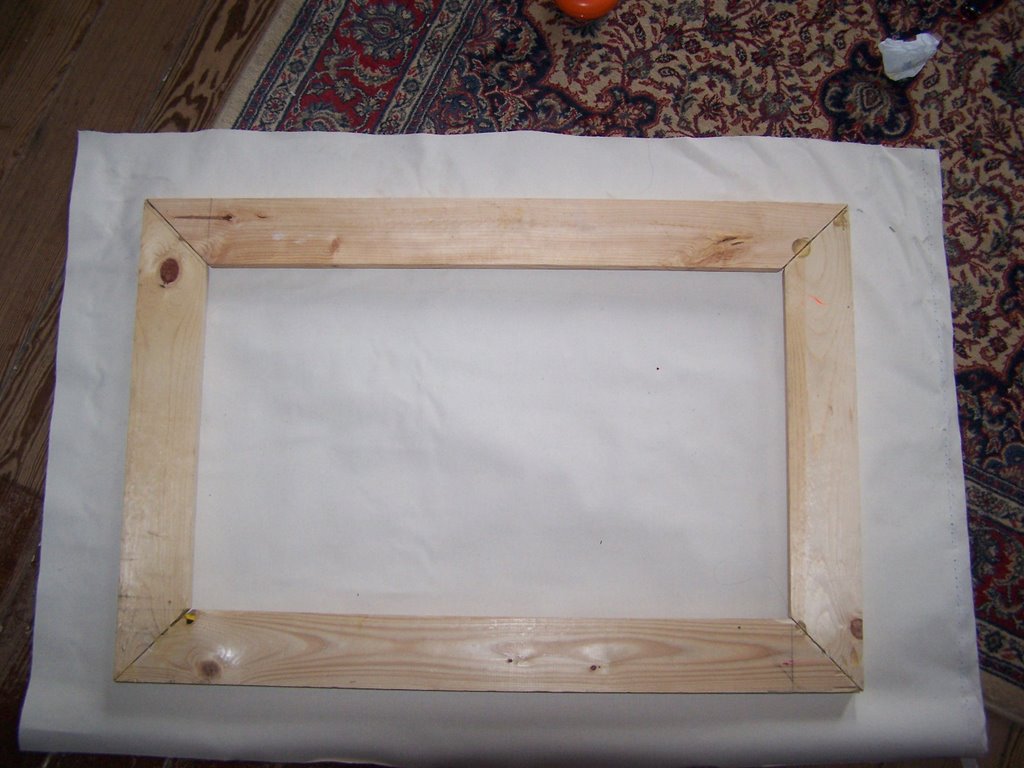
 The first step is cutting the canvas down to size. You want roughly 3 to 4 inches of canvas beyond the edge of the stretcher. Center the stretcher in the middle of the canvas.
 Start stapling. I usually start on the longest edges of the canvas (unless it is a square of course). Place one staple through the canvas in the center of the stretcher's edge. Stretch the canvas tight from the opposite side (grip edge of canvas with plyers and leverage with the back of the stretcher) and staple it in place. Staple the canvas into the back of the stretcher, not the edge. Repeat on the short edges. Then, working towards the corners from the middle staple, stretch and staple the canvas. Alternate between the short edges and long edges; try to reach the corners at the same time.
 When you reach the corner, fold one edge of canvas under the other and tuck it in place (see last photo in sequence). To make a neat corner, some trimming with the scissors may be necissary.
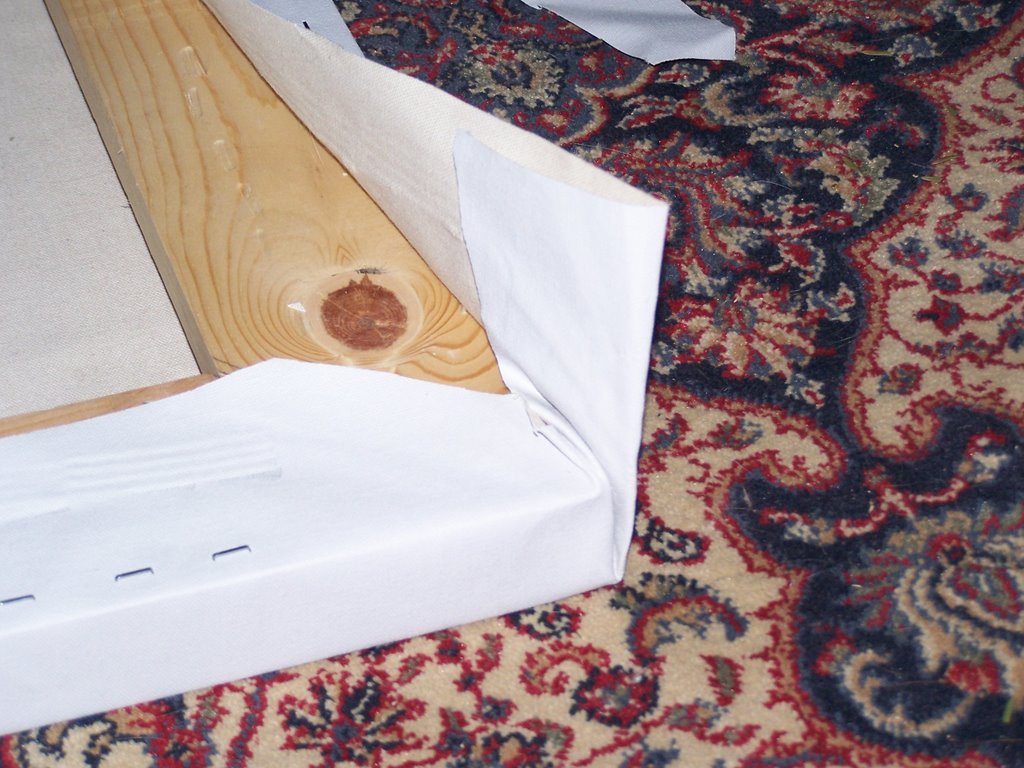

 Once you have a neat looking corner, staple it in place. Repeat for each corner. I try to make the corner seam (see picture above) face down or up depending on whether it will be the top or bottom edge of the painting. Then, if it is hung without a frame, it ought to be invisible.
Sorry, this picture ought to have been earlier in the sequence. This is me tucking one edge under the other.
Monday, February 05, 2007
Cedar Grove, Winter Snow

 Oil on cradled maple panel, 9"x12," SOLD.
The first picture's colors are a bit muted in an attempt to show a less glaringly white image of the snow. The color of the trees is much more accurate in the second picture.
Subscribe to:
Posts (Atom)